
Interior designers often know how a space should feel before they have a complete technical lighting drawing. The starting point might be a mood board, a reference image, a room rendering, a material palette, an approximate fixture size or simply the desired atmosphere. The challenge is turning that visual direction into a pendant a factory can sample and reproduce.
Effective custom lighting for interior designers connects those early references with measurable decisions. For custom pendant lights, that means agreeing on proportion, material, construction, light effect and installation before approving production. This guide follows the process from an initial mood board to a real sample, showing what to send, what to review and how to record changes.
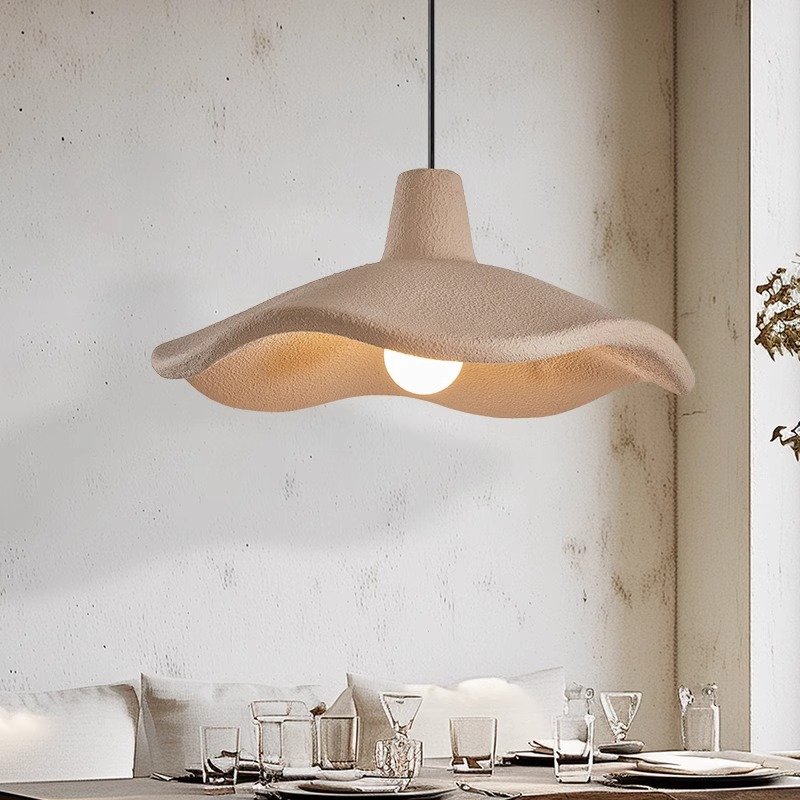
Can a Lighting Manufacturer Work From a Mood Board or Reference Image?
Yes. A mood board establishes design direction; it is not a complete production specification. Reference photos, a 3D rendering, sketches, floor and ceiling plans, a material palette and approximate dimensions can support an initial discussion.
The manufacturer must translate those inputs into size, material, finish, structure, electrical requirements, installation and packaging. A photo alone cannot establish weight, hidden supports or how light passes through a shade. Treat custom lighting from a reference image as a starting point for development, with unresolved details clearly marked.
For detailed size, color, cable, canopy and packaging choices, see the custom pendant light options guide.
The Mood Board-to-Sample Process
- Mood Board
- Project Dimensions
- Product / Material Direction
- Factory Feasibility Review
- Sample Specification
- Sample Development
- Designer Review
- Revision
- Approved Sample
- Bulk Production
Start a draft specification early, then revise it after factory feasibility review. Each stage should leave a clear record for the next person: an annotated reference, agreed dimensions, a sample brief or an approval decision.
Step 1: Translate the Design Concept Into a Lighting Brief
Reference Images and Design Direction
Avoid sending one photograph with “make this.” Annotate the outline you like, the material character, the color to retain and the details that can change. State whether you need reproduction of a design you are entitled to use or an original interpretation of similar design language.
Separate essential features from preferences. For example, “retain the shallow organic silhouette; the surface texture can vary” gives the factory a useful priority. Label each image by purpose so a shape reference is not mistaken for a finish reference. This makes custom lighting from a mood board easier to discuss without guessing.
Room and Ceiling Information
Include room type and dimensions, ceiling height, installation position and the location of tables, counters or beds. Add the target pendant diameter, approximate hanging height and whether the composition uses one fixture or a cluster.
A pendant that looks large online may disappear in a double-height interior. Check it against a scaled elevation or rendering. Define hanging height consistently: a ceiling-to-bottom measurement is different from the exposed cable length. For clusters, show individual drops and spacing.
Step 2: Decide Between Modifying an Existing Model and Developing a New Design
Ask whether an existing structure can deliver the concept before starting a new design. The comparison below describes typical tendencies, not an OBBAO quotation or commitment.
| Decision | Existing Model Customization | New Custom Development |
|---|---|---|
| Development speed | Usually faster with a suitable base model | May require more development and revisions |
| Initial cost | Usually lower development cost | May include tooling and structural development |
| MOQ flexibility | Often more flexible with available components | Depends on materials, tooling and structure |
| Structural risk | Lower when proven construction remains suitable | More construction questions to resolve |
| Design uniqueness | Limited by the base design | More freedom to develop a distinct form |
| Sample complexity | Focused on agreed modifications | May require several component and assembly checks |
| Best for | Projects close to an existing design | Concepts needing a new form or construction |
A major size change can invalidate the advantages of an existing model. Confirm the actual work involved rather than relying on the label. The OEM vs ODM lighting guide explains the broader development routes.
Step 3: Confirm Material, Scale and Finish
Material selection determines whether a visual concept can work at the required scale. Bespoke pendant lighting may look similar in photographs while using very different construction underneath.
| Material | What Designers Usually Control | What Must Be Confirmed in Sampling |
|---|---|---|
| Ceramic | Shape, glaze, diameter, texture | Glaze variation, weight, color, handmade tolerance |
| Silk / Fiber | Shape, proportion, tone, texture | Actual fiber composition, surface consistency, internal frame, transparency, silhouette |
| Fabric | Shade profile, textile, color, diffuser direction | Seams, tension, frame visibility and lit appearance |
| Marble / Travertine | Stone tone, dimensions, metal finish | Veining, weight, mounting and packing |
| Wabi-Sabi / Hand-Finished Materials | Organic form, tone, surface character | Actual substrate, texture variation, edge durability and repeatability |
Wabi-sabi describes a design direction, not one material. Ask what the shade is made from. Where color matters, use a physical finish sample and agree on acceptable variation. Review surfaces both unlit and illuminated; a finish that suits the palette in daylight may behave differently when the lamp is on.
Step 4: Create the Sample Specification
Use the checklist below as a working brief for lighting sample development. Enter a value, attach a reference or write “to confirm.” An empty field can be mistaken for permission to use a default.
Designer Sample Specification Checklist
- Reference image: attach annotated images and identify their purpose.
- Model/reference number: use one identifier per fixture and revision.
- Shade diameter: state units and the measurement point for irregular forms.
- Shade height: distinguish the shade from the complete fitting.
- Overall hanging height: define ceiling-to-lowest-point measurement.
- Material: name the intended material; flag anything unresolved.
- Finish/color reference: attach a swatch code or approved reference.
- Cable length: identify supplied length and required adjustment.
- Cable color: record the agreed reference.
- Canopy size: confirm dimensions against the installation plan.
- Canopy finish: identify the finish to match.
- Bulb holder / LED requirement: specify lamp holder or integrated LED direction.
- Voltage: state the project's electrical supply requirement.
- Dimming requirement: identify the intended control system, if applicable.
- Destination market: state the country and project requirements.
- Quantity: separate sample quantity from expected project quantity.
- Installation environment: describe location, ceiling construction and exposure conditions.
- Packaging requirement: identify fragile parts and delivery handling needs.
- Expected project schedule: separate sample review, delivery and installation milestones.
Also record who approves appearance and who confirms technical suitability. For a fuller project document, use the custom lighting specification sheet guide. This checklist defines the sample to review; it should develop into the approved specification as decisions are resolved.
Step 5: Factory Feasibility Review
A good custom lighting manufacturer should not simply say “yes” to every reference image. Ask for a review of the decisions that could change the design:
- Is the requested size structurally practical in the chosen material?
- Can the material achieve the form without unacceptable distortion or weakness?
- What will the fixture weigh, and what mounting arrangement is needed?
- Is new tooling or a mold required?
- Is the canopy and support assembly suitable?
- Can the finish be repeated within agreed limits in bulk production?
- Which electrical components and project-specific documentation are needed?
- How will vulnerable surfaces and projections be protected in transit?
Request proposed alternatives where a constraint appears. A lighter construction may preserve the silhouette but change translucency; a thicker edge may improve durability but change visual weight. Record the tradeoff before sampling.
Confirm applicable electrical standards and any requested CE / RoHS documentation for the specific configuration and destination. Do not infer a finished fixture's compliance from its appearance or a component label. Have the responsible technical parties confirm project suitability.
Have a lighting concept but not a complete technical drawing? Send your mood board, room dimensions and target pendant size for an initial feasibility review.
Step 6: Develop and Review the First Sample
A custom lighting sample should answer agreed questions, not just look attractive in a photograph. Ask which details are final and whether any temporary components remain. Use a review record with a result, an action and an owner for each issue.
Visual
Check overall proportion, silhouette, finish, color and texture against the annotated brief. Request consistent views with a scale reference; wide-angle photography can distort the outline.
Physical
Verify dimensions, weight, cable/drop, canopy and material quality. Record measured values rather than accepting “approximately right.” Identify deviations from the specification.
Lighting
Review bulb position, glare, shadows, transparency and light distribution using the intended light source. Compare lit and unlit views. Images help discussion, but exposure and white balance can obscure the actual effect.
Installation
Check mounting, ceiling compatibility, cable adjustment and access for bulb replacement or servicing. Coordinate the sample details with the installer, especially for heavy fixtures and constrained ceiling spaces.
Packaging
Review protection around fragile areas and whether components can move inside the carton. Confirm that the packing proposal fits the approved sample. A packing photograph is useful evidence, but does not establish transport-test performance.
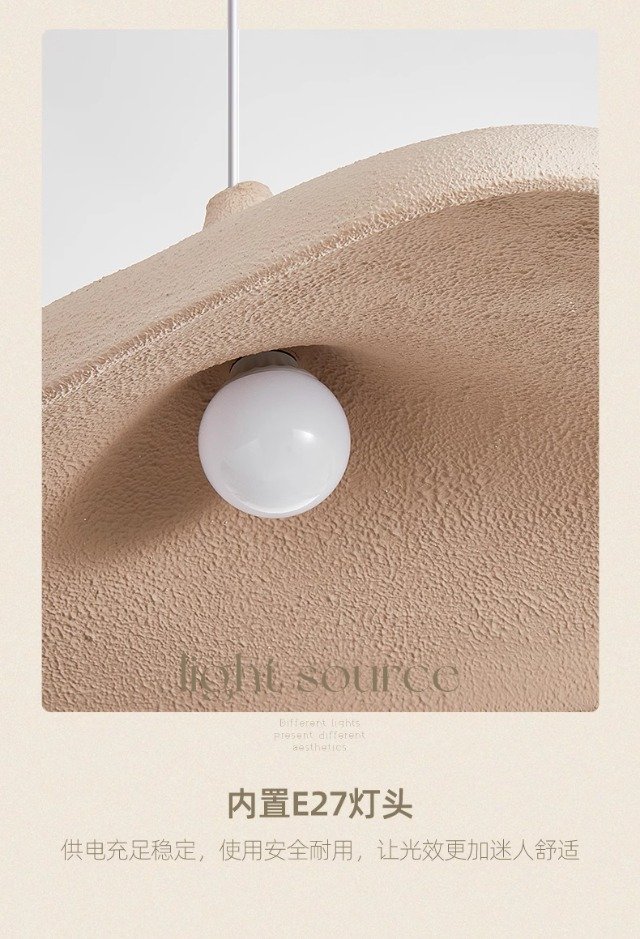
Step 7: Review the Sample Inside the Actual Interior
An attractive standalone pendant may still be wrong for the project. Review the sample in the actual space where possible; otherwise combine measured sample dimensions with room renderings, elevations and material samples.
- Scale: compare diameter and shade height with furniture, table size and ceiling height.
- Drop height: check sightlines, circulation and the relationship to the surface below.
- Material harmony: compare the finish with walls, upholstery, stone and surrounding materials.
- Visual weight: assess whether the fixture dominates or disappears from key viewpoints.
- Light effect: review natural light, evening conditions, glare and the intended atmosphere.
For hospitality projects, a mock-up room can expose conflicts that a product photo misses. Record the lamp and dimming setting used during review so later comparisons are meaningful. Identify whether approval covers appearance only or also the technical items checked by the project team.
Step 8: Record Revisions Before Bulk Production
Messages such as “make it a little warmer” or “slightly bigger” leave room for interpretation. Translate feedback into measurable changes and identifiable references.
For example, an illustrative revision record might change Version 1: diameter 500 mm to Version 2: diameter 600 mm, subject to renewed feasibility review. Replace Version 1: matte beige with Version 2: approved physical finish reference, including its identifier. These are examples, not specifications from an OBBAO order.
Distinguish warmer surface color from warmer light color. Date each revision, identify the approver and mark superseded documents. If changes affect construction, light effect or packing, confirm whether another sample is necessary.
Before bulk production, align the Approved Sample with the Approved Specification. Record remaining variations and the acceptance criteria. A sample approval should make clear which version production must follow.
Real Example: From Mood Reference to Wabi-Sabi Pendant Samples
OBBAO's published Wabi-Sabi pendant light sample project documents a designer seeking organic forms and soft handmade texture for an interior concept.
The challenges included translating mood-board references into product options, checking size and finish, and balancing size, weight and packing practicality. The documented sequence was design reference review → model shortlist → material and size discussion → photo confirmation → sample list update → sample PI confirmation → packing route check. A sample PI is the pro forma invoice used to confirm sample-order details.
The recorded result was a defined sample selection supported by real photos and sample-order documentation. It does not establish a completed installation or bulk-production outcome. View the full case study for the evidence behind that selection process.
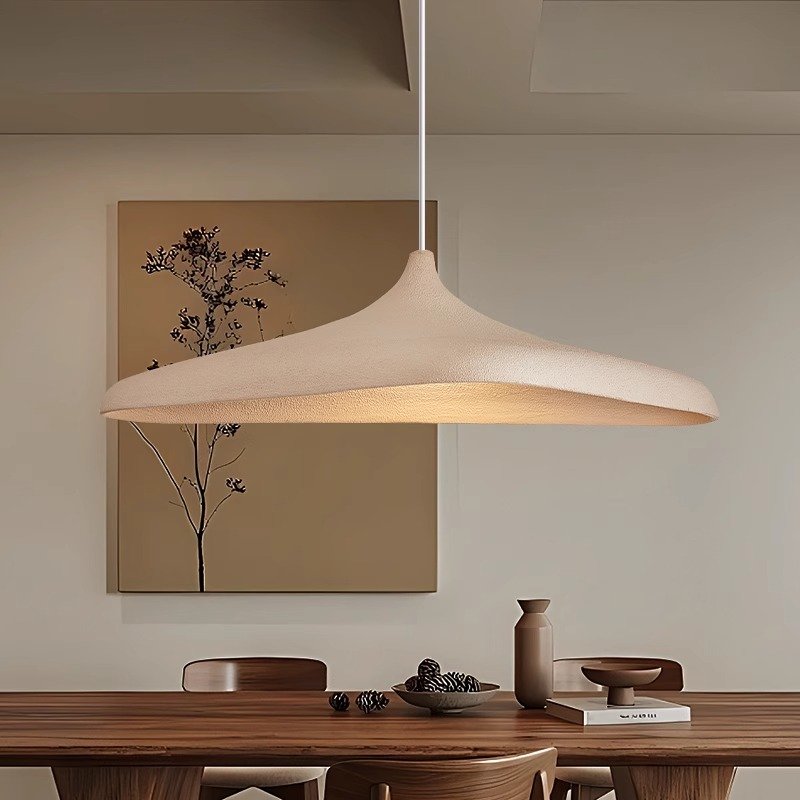
What to Send a Lighting Manufacturer for the First Review
For the first discussion, send:
- Mood board or reference image.
- Room rendering or project image.
- Required approximate fixture size.
- Ceiling height.
- Preferred material.
- Preferred color or finish.
- Sample and project quantity.
- Destination market.
- Required delivery schedule.
If details remain open, start with the mood board, room dimensions and reference images. A lighting manufacturer for interior designers can then assess whether existing design customization or deeper custom development is the appropriate starting point.
Turn Your Lighting Concept Into a Real Sample
Send OBBAO your mood board, reference image, drawing, target size and project quantity. We can review the material direction, customization route, sample requirements and production feasibility.
Send Your Lighting Idea · View Custom Lighting Case Studies
Frequently Asked Questions
Can a lighting manufacturer make a pendant light from a reference image?
A reference image can start the discussion, but dimensions, materials, structure, finish and electrical details still need confirmation. The factory must determine whether the proposed form can be manufactured and installed as intended.
What should an interior designer send for a custom lighting quote?
Send reference images, room dimensions, approximate fixture size, material and finish direction, quantity, destination market and schedule. Mark unresolved details so the manufacturer can identify what is needed before a firm quotation.
Do I need a technical drawing before requesting a lighting sample?
Not always for the initial review. Mood boards, sketches, renderings and room dimensions can communicate the concept. More detailed drawings may be required before sampling once the dimensions and structure are defined.
Can an existing pendant light be modified for a design project?
Yes, depending on the model and material. Size, finish, cable, canopy or material changes may be possible. Review the custom pendant light options and confirm which changes the selected construction supports.
What should I check before approving a custom pendant light sample?
Check dimensions, proportions, finish, material, electrical configuration, installation, lighting effect and packaging. Record revisions and confirm that the approved sample and specification identify the same final version.