
A custom lighting sample can look convincing in a photograph and still be unsuitable for bulk production. The shade may have the wrong diameter, a finish may change under project lighting, or the carton may leave the canopy unprotected. Custom lighting sample approval turns those observations into a documented decision. A useful lighting sample checklist records what was inspected, what matched the specification and what still needs revision.
This guide covers visual review, dimensions, material and finish, electrical configuration, light effect, installation, packaging and documentation. It starts after the sample exists, when designers, lighting brands and project buyers must decide whether to approve, revise or reject it.
What Does “Sample Approved” Actually Mean?
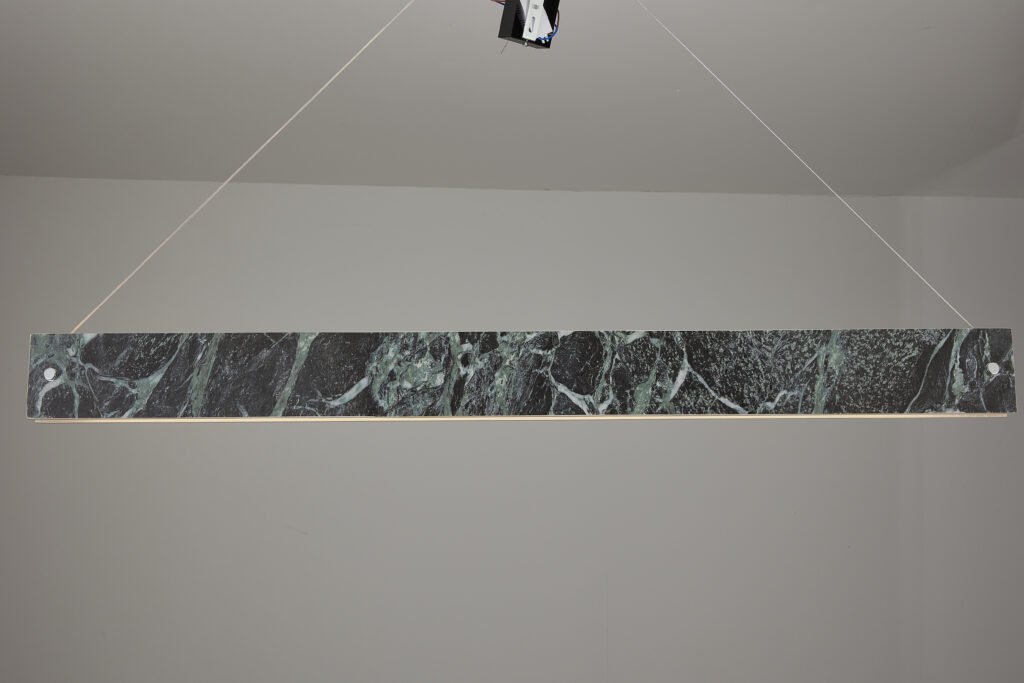
Approval should confirm a defined product configuration that can be repeated in bulk production. Liking the design is only one part of that decision. Identify the model or SKU, dimensions, material, finish, color, structure, electrical configuration, cable, canopy, installation arrangement, packaging and applicable labels.
State the scope of approval. A decorative lighting sample made to demonstrate shape may contain temporary electrical components or provisional packing. Record those exclusions; appearance approval does not release unresolved technical details for production.
If the development brief is still incomplete, use the earlier guide from mood board to lighting sample. Here, the question is whether the manufactured sample matches the agreed requirements.
Approve, Approve With Revisions, or Reject?
| Decision | When It Applies | What Happens Next |
|---|---|---|
| Approved | All agreed critical requirements have been checked and accepted | Identify the approved sample and issue the matching approved specification |
| Approved with revisions | The core shape, material and structure are acceptable, but defined details require changes | Record changes, evidence required and the person responsible for closing each item before release |
| Not approved | Proportion, material, finish, electrical configuration, structure or installation differs unacceptably | Hold production release and review a corrected sample or the affected assembly |
“Everything is okay, just change the cable” is not a complete instruction. Record the required length, measurement points, affected version and confirmation method. Even a seemingly minor revision can affect mounting, light effect or packing; agree whether photographs, measurements or another physical review are appropriate.
Custom Lighting Sample Approval Checklist
Keep the agreed drawing, finish reference and sample identifier beside the product. Record observations as you inspect rather than reconstructing decisions later. This lighting sample approval checklist separates design judgment from measurable checks.8-Point Sample Approval Checklist
- Dimensions
- Material
- Finish
- Electrical
- Light
- Installation
- Packaging
- Documentation
1. Check the Overall Proportion First
Before reaching for calipers, compare the silhouette with the approved direction. Does the shade feel too heavy or too light? Are its height, width and visible fittings balanced? Compare the pendant light sample with the rendering, room image, furniture dimensions and ceiling height.
A fixture can look correct against a white background yet overwhelm the intended interior. Review it from the likely entrance and seating positions, or place its measured outline in a scaled elevation. Note which views informed the decision.
2. Verify the Dimensions
Measure overall width or diameter, fixture height, shade diameter and shade height. Check cable length separately from overall hanging height, then record canopy diameter and height. Include wall projection and mounting dimensions where relevant.
For an irregular shape, mark measurement points on a photograph or drawing so the next inspector measures the same feature. Enter the specified dimension, measured result and decision; “size okay” leaves no useful comparison.
Any acceptable production tolerance should be agreed with the manufacturer before bulk production, especially for handmade ceramic, fiber, fabric or stone products. Do not borrow a universal millimeter tolerance from an unrelated fixture. Use the custom lighting specification sheet as the comparison document, updating its revision only after changes are agreed.
3. Check Material and Surface Finish
Confirm the actual material against the specification, not just the style name. During lighting sample inspection, separate intended surface character from damage, incomplete finishing or a construction issue.
| Material | What to Check |
|---|---|
| Ceramic | Glaze tone and coverage, texture, shape, edges, handmade variation, visible defects and weight |
| Fabric | Color, texture, wrinkles, seams, frame shape, diffuser, tension and transparency |
| Silk / fiber | Texture, tone, frame visibility, shade shape, fiber distribution, transmission and handmade variation |
| Marble / travertine / stone | Veining, color range, finish, edges, drilling, weight, cracks or chips and mounting method |
| Metal | Plating or paint, gloss, scratches, welds, edges, color consistency and visible hardware |
Natural veining or handmade texture is not automatically a defect. Agree an acceptable visual range with reference images or retained examples. Record unacceptable chips, cracks or finishing faults separately instead of labeling every difference “natural variation.”
For further customization choices, see custom pendant light options. The task here is material approval and finish consistency against the chosen configuration, not selecting every available option again.
4. Approve Color Under the Right Lighting
Daylight, warm interior light, camera white balance, screen settings and surrounding finishes can change perceived color. For a color-sensitive project, compare the physical sample with the agreed reference under relevant viewing conditions.
Photograph that comparison for documentation and record the final color direction. A RAL or Pantone reference, material swatch or approved physical sample can improve communication, but does not guarantee identical results across different handmade materials. Also distinguish surface color from the color of emitted light.
5. Check the Electrical Configuration
Compare the voltage requirement, lamp holder, bulb type or LED module, driver, dimming requirement and cable with the agreed specification. Include grounding or wiring configuration and plug type where applicable. Record component identifiers and the destination market.
A custom pendant light sample assembled for visual review may not use the final electrical components. Ask which parts will change and what evidence is needed before technical approval. Have the responsible technical parties confirm the intended configuration; a buyer’s visual check is not an electrical safety test.
Where relevant, review the project’s CE and RoHS documentation requirements. A sample photograph or component marking alone does not establish the finished fixture’s compliance or certification scope.
6. Turn the Sample On
Use the intended light source and agreed control setup with appropriate technical supervision. Check bulb or LED visibility, glare, transmission, shadows, diffuser performance, illuminated color, light direction, uneven brightness and unexpected dark areas.
Observe restaurant pendants from seated eye level, bedside fixtures from sitting or lying positions, and high-level fixtures from their normal viewing distance. An attractive unlit shade can reveal a bright source or distracting frame shadow when illuminated.
Record the source and dimming setting used. Assess output, color temperature and color rendering against project requirements where specified, without inventing universal lumen, lux or CRI targets.
7. Review the Installation Details
Check the canopy, mounting plate, fixing accessories, suspension, cable adjustment, cable entry, connectors, assembly sequence and installation instructions. Verify access for lamp replacement or driver maintenance, including whether the shade must be removed.
For a large pendant, stone fixture or cluster chandelier, review weight, ceiling conditions and the assembly route with the responsible project team. Confirm which fixings the installer provides and which arrive with the product. This review identifies coordination needs; it does not replace a structural assessment.
8. Inspect the Packaging Before Bulk Production
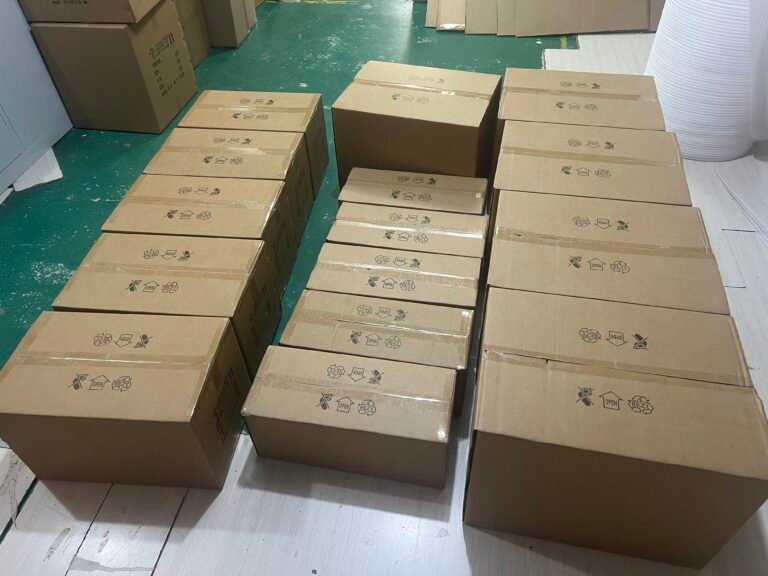
Check shade and canopy protection, cable separation, the hardware bag, support around fragile areas, inner protection, outer carton and product-to-carton fit. Look for movement that could let hardware strike a finished surface. Confirm model identification and handling labels where required.
For ceramic, stone or large handmade shades, discuss appropriate packing verification or transport testing for the product and shipping route. A carton photograph cannot establish impact resistance or a successful packing test. If a test is requested, agree its method and retain the actual result.
Have a custom lighting sample ready for review? Send the sample photos, specification sheet and revision notes so the key details can be checked before bulk production.
One Sample May Represent Dozens or Hundreds of Fixtures
A hotel, restaurant group or lighting brand may repeat one approved design across many locations. Ask whether the finish can be repeated, dimensions controlled, cable lengths standardized and packaging reproduced. Identify expected handmade differences and the features that require tighter control.
One good sample does not demonstrate consistency across an entire order. A practical custom lighting quality control plan uses the approved configuration as the reference for later checks. Where visual variation matters, a reference range can communicate more than one exceptional piece.
Do Not Approve a Sample Only in WhatsApp Messages
A quick “looks good” can mean appearance approval to the buyer and production release to the factory. Consolidate decisions in one dated approval record, even if discussion happens through messages.
Include model or SKU, identified photos, sample version, approved dimensions, material, finish, color, electrical configuration, cable length, canopy, packaging and revision notes. Add the approval date, approver and any technical-review responsibilities. Distinguish Sample V1, Sample V2 and Approved Version; mark older documents as superseded.
If keeping a “golden sample,” label it with the same revision as the production specification and agree where it will be retained. When the physical sample differs from a later approved revision, identify that difference explicitly rather than calling the unchanged object the final reference.
Sample Approval Record
Copy this blank table into the project record. Use Approved, Revise or Not Approved in the Status column. An empty cell means the review is incomplete, not that the item passed.
| Item | Approved Requirement | Sample Result | Status | Revision Needed |
|---|---|---|---|---|
| Model | ||||
| Dimensions | ||||
| Material | ||||
| Finish | ||||
| Color | ||||
| Cable | ||||
| Canopy | ||||
| Electrical | ||||
| Light Effect | ||||
| Installation | ||||
| Packaging |
Attach photographs and the numbered revision record. Name the person who confirms each correction and record when the final configuration is released. This turns sample approval before production into a traceable decision.
Can a Lighting Sample Be Approved From Photos Only?
Sometimes, depending on what is being approved. Photographs can help confirm general shape, model selection, visible proportion, finish direction and packing arrangement. Request identified views rather than one attractive angle.
They cannot fully convey exact color, texture, weight, construction quality, installation fit, light transmission or glare. Physical review is usually more valuable for a new finish, custom color, material, structure or a large project. For an existing model with a minor change, annotated photographs and measurements may be sufficient for that defined item.
State what remains unverified. In a lighting prototype review, a photo-based decision about silhouette should not silently become approval of hidden components or installation performance.
Real Example: Reviewing Wabi-Sabi Pendant Samples
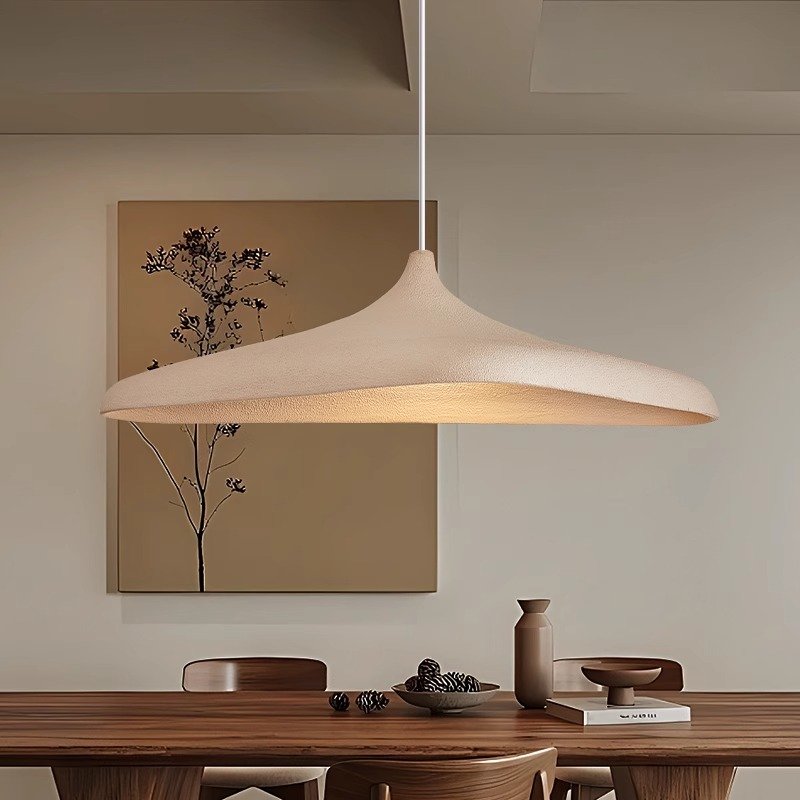
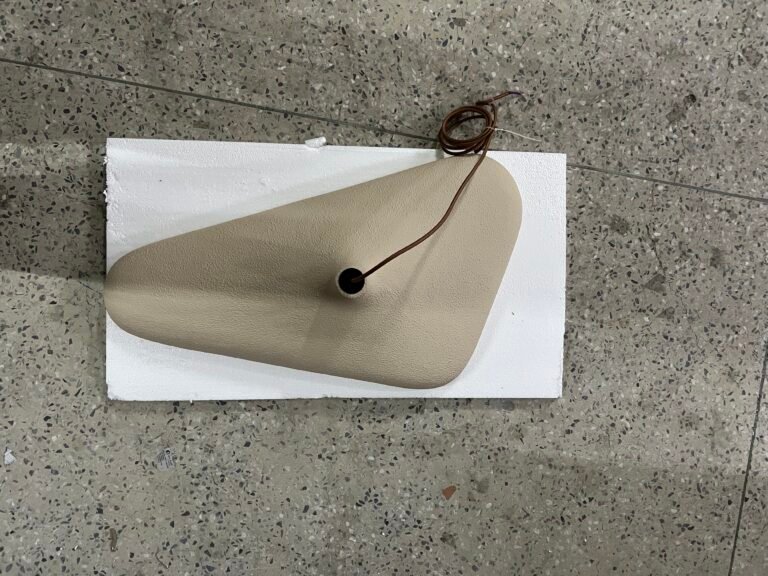
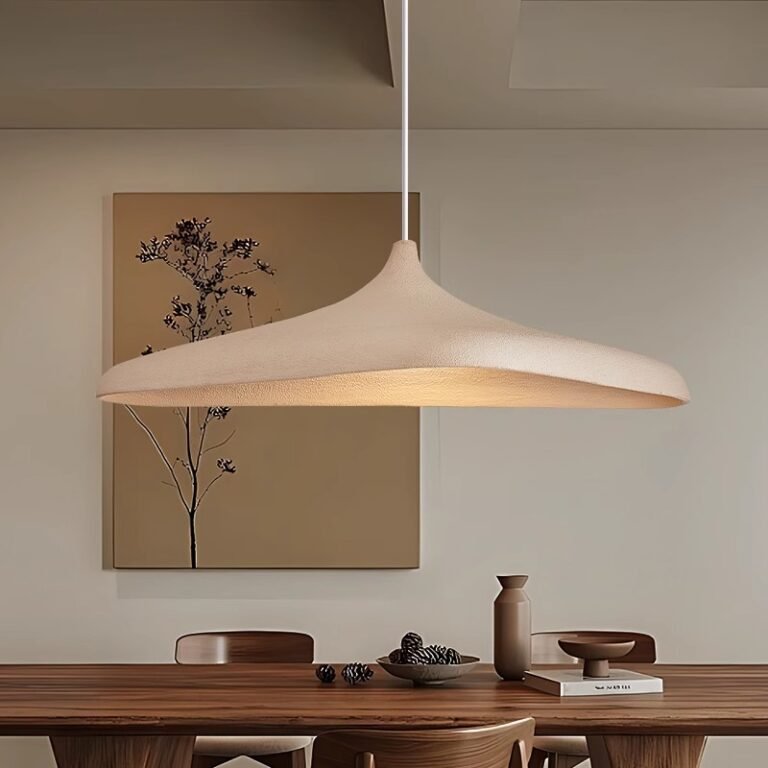
OBBAO’s documented Wabi-Sabi sample project includes organic pendant options, an inner-shade detail and a top-view inspection image. Its recorded concerns include scale, surface finish, size, weight and packing practicality; sample-list and sample PI records identify the selected models.
For approval, each evidence type serves a different purpose. Overall views help compare silhouette and proportion; the close-up supports discussion of lamp position and finish; the inspection view shows a surface and cable arrangement outside the styled setting. Sample-order records help connect those pictures to the requested configuration.
These records support a lighting sample review, but do not prove that bulk production passed inspection or that a final installation was completed. A sample PI records order details; it is not itself a test report or approval signature.
Sample Approval Is Not the Same as Final Production Inspection
Sample approval answers, “What should be produced?” Production or pre-shipment inspection asks, “Did the order match the approved requirements?” Both depend on an identifiable reference, but they happen at different stages.
This custom lighting sample checklist defines the reference. It does not replace later lighting quality inspection, shipment checks or any project-required testing. For the broader commercial sequence, see the custom pendant light sourcing process, including sampling before a bulk order.
Common Sample Approval Mistakes
Approving Only From One Product Photo
One angle can hide an uneven edge, visible hardware or an unsuitable lamp position. Request views that answer specific approval questions and identify the sample version shown.
Checking Appearance but Not Dimensions
A convincing silhouette does not verify mounting or clearance. Record actual measurements as part of the pendant light quality check and compare them with the drawing.
Forgetting Electrical Configuration
A temporary lamp holder or driver can be mistaken for the final component. Identify provisional parts and close the electrical review before authorizing that configuration.
Ignoring Installation Hardware
Missing accessories or inaccessible connectors may only become apparent during assembly. Review supplied parts and instructions with the installer before accepting the mounting arrangement.
Approving Color From a Phone Screen
Screens and camera processing can hide a meaningful mismatch. Use an identified physical reference when color is critical and record the viewing conditions.
Not Reviewing Packaging
An intact sample does not establish that the proposed bulk packaging protects every component. Check internal separation and support, not just the outer carton.
Giving Revisions Without a Version Record
Separate messages can leave production working from conflicting instructions. Consolidate changes, identify the final revision and confirm which earlier documents it replaces.
From Sample Received to Production Release
- Sample Received
- Visual Review
- Dimension Check
- Material & Finish
- Electrical Check
- Light Effect
- Installation
- Packaging
- Revision Record
- Approved Sample / Specification
- Bulk Production
Pause the sequence wherever a result needs correction. Repeat affected checks after changes and record their closure before issuing the approved sample or specification. Approval should show what is accepted, what changed and which configuration production will follow.
Review Before You Approve Bulk Production
Before approving a custom pendant light or decorative lighting sample, confirm size, material, finish, electrical configuration, installation and packaging against the agreed specification.
If you are developing lighting with OBBAO, send your reference, sample requirements, quantity and destination market so the sample and production route can be reviewed clearly.
Frequently Asked Questions
What should I check before approving a custom lighting sample?
Check dimensions, proportion, material, finish, color, electrical configuration, light effect, installation, packaging and revision records. Identify unresolved items and who must confirm them before production release.
Can I approve a pendant light sample from photos?
Photos can support shape and visible-finish review, but may not establish exact color, texture, construction, weight, glare or installation fit. Choose the approval method according to customization and project risk.
Should sample dimensions match the drawing exactly?
Check the sample against the approved specification. Acceptable variation depends on design, material and manufacturing process; agree tolerances before bulk production instead of assuming a universal limit.
What is an approved sample?
It is an identified sample or configuration that buyer and manufacturer agree will serve as the production reference. Link it to the approved specification and record any differences.
What happens if I need a small revision after sample approval?
Record the affected detail, update the revision and agree how the change will be verified. Confirm which version becomes the final production reference before releasing the revised configuration.
Is sample approval the same as final quality inspection?
No. Sample approval defines what should be produced. Final inspection checks whether bulk production follows the approved requirements; neither stage automatically proves the other is complete.