
A restaurant rarely needs one lighting solution repeated everywhere. The entrance must establish the first impression. The bar may need rhythm and material character. Dining tables need intimacy without cumulative glare. Private rooms can support a stronger identity, while circulation spaces should connect the experience without competing for attention. Successful restaurant lighting design therefore starts by defining the role of each zone before selecting restaurant decorative lighting.
This guide is for restaurant interior designers, hospitality designers, architects, owners, FF&E teams and project buyers who already have a concept, floor plan, mood board or rendering. Its purpose is to turn that interior direction into a coordinated decorative lighting plan—not to replace architectural lighting design, photometric calculations or local code review.
Start With Zones, Not Products
A common mistake is to open several supplier catalogues and choose an attractive light for each area independently. One pendant is assigned to the bar, another to dining tables, a chandelier to the private room and a sculptural wall lamp to the corridor. Each item may work alone, yet the complete ceiling view can feel like several unrelated projects joined together.
Reverse that sequence. Mark the restaurant zones on the floor plan, define the visual and operational role of each zone, decide the required fixture type, and only then compare products. Furniture planning should be stable enough to test ceiling points, sightlines and repeated patterns. Product selection becomes easier when every fixture has a job.
Restaurant Lighting Zone Map
| Zone | Decorative lighting role | Main question |
|---|---|---|
| Entrance | Brand recognition and transition | What should guests notice first? |
| Reception | Orientation and identity | Does the fixture support the arrival point? |
| Bar | Rhythm and material character | Should repeated pendants define the counter? |
| Main dining | Intimacy and repetition | How should fixtures relate to the table layout? |
| Booth / banquette | Local atmosphere | Would a pendant, wall light or combination work? |
| Communal table | Visual rhythm | One linear fixture or repeated pendants? |
| Private dining | Stronger identity | Is a statement fixture appropriate? |
| Feature zone | Focal point | Does this area deserve the strongest fixture? |
| Circulation | Visual continuity | How can lighting guide without competing? |
Planning note: This is a design-planning framework, not a mandatory restaurant lighting standard. The responsible project professionals must confirm the complete lighting scheme and applicable local requirements.
Restaurant Lighting Hierarchy: Not Every Fixture Should Be the Hero
A coordinated restaurant lighting plan needs visual priority. Primary or hero lighting creates the strongest focal point: perhaps an entrance chandelier, a central dining feature or a private-room composition. Secondary decorative lighting supports zone identity through table pendants, bar pendants and wall sconces. Background decorative lighting provides continuity in corridors and quieter transition areas.
If every area has an oversized statement fixture, none of them reads as the true statement. It is often more coherent to concentrate major focal moments, then let repeated and quieter families support them. The number depends on the layout, scale and concept; it is not a fixed industry rule.
Decorative Lighting Is Not the Entire Restaurant Lighting System
Pendants, chandeliers and wall lamps can define tables, counters and focal points, but they usually cannot provide every required lighting function. A complete restaurant interior may also need recessed, track, linear, architectural accent, task and emergency or egress lighting. Kitchens, service areas and circulation routes have their own technical needs.
Decorative fixtures are one layer within that system. Menu visibility, food presentation, artwork, service work and safe movement may require supporting layers. Code-required, emergency and technical lighting should be coordinated by the responsible designer, electrical professional or lighting consultant according to the project and local requirements.
How to Plan Decorative Lighting by Restaurant Zone
Zone 1: Entrance Lighting
The entrance manages first impression, visibility from outside and the transition from street to interior. Review signage, ceiling height, door movement, waiting space and the view into the restaurant. A statement pendant, compact chandelier, decorative cluster or wall light may work, but no single type is mandatory.
The key decision is whether the entrance should contain the strongest fixture or whether the visual climax should occur deeper inside. Test the street and doorway sightlines in an elevation or rendering. If the entrance fixture, bar installation and dining feature are visible at once, establish which one leads and which ones recede.
Zone 2: Reception or Host Stand
The host stand should be easy to recognize without blocking communication between staff and arriving guests. A small feature pendant, wall light, decorative side light or overhead composition can identify the point. Check the fixture’s lowest edge, counter activity and guest sightline rather than treating reception as another opportunity for an oversized object.
Zone 3: Bar Lighting
Restaurant bar lighting connects the counter length, seating, back-bar display and service movement. Repeated pendants can create a measured rhythm; a mixed-size cluster can produce a more organic character. Neither is automatically better. The correct choice follows the brand concept and the way the bar appears from the entrance and dining area.
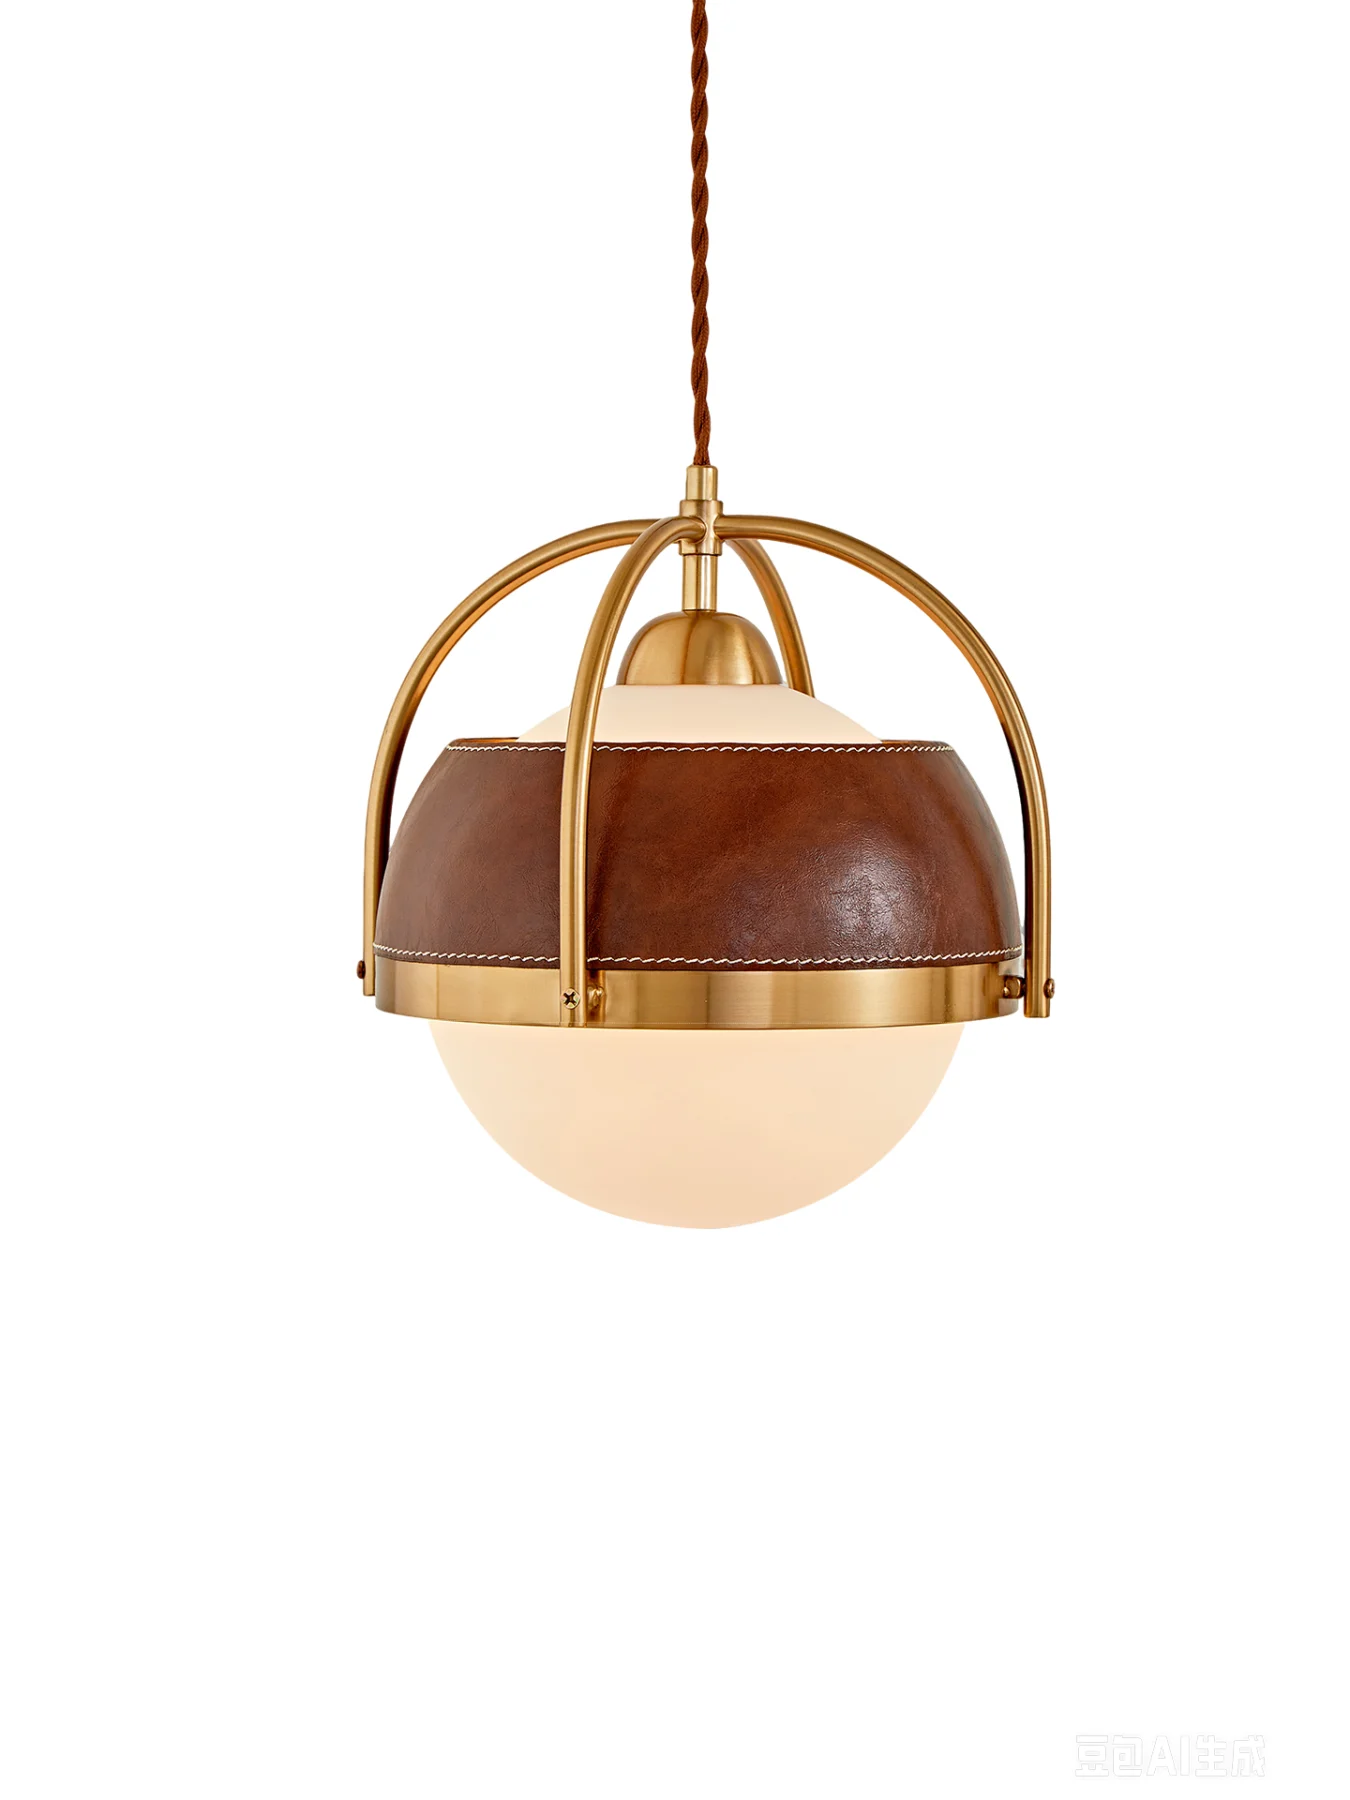
Do not reduce bar planning to “one pendant every fixed distance.” Review counter modules, bartender sightlines, visible sources, bottle display and cleaning exposure. Leather, ceramic, metal, glass and fabric each bring different surface and maintenance considerations near beverages, guest contact and active service. Detailed table-level sizing and spacing belongs in the restaurant pendant light size, height and spacing guide.
Zone 4: Main Dining Area
Begin with table groups, circulation aisles, seating flexibility, ceiling grid and the intended decorative rhythm. A dining area might use one fixture per fixed table, a shared linear fixture, a repeated grid, grouped compositions or fewer pendants supported by wall and architectural light. “One table equals one pendant” is not a planning rule.
Ask whether two-person tables will regularly join into groups of four or six. Fixed ceiling points can look misplaced when furniture moves. If the layout must remain flexible, test how the lighting pattern behaves across more than one furniture configuration before fixing the reflected ceiling plan.
Zone 5: Booth and Banquette Lighting
Booths can use small pendants, wall lights, integrated decorative light or a combination. Review guests’ faces, artwork, head clearance and maintenance access. For sconces, check projection and the seated guest position. A wall light that appears modest in elevation may feel intrusive beside a person’s head or may compete with artwork behind the banquette.
Zone 6: Communal Tables
A communal table creates a long visual axis. A linear fixture, repeated pendants or several sculptural pieces can reinforce it. The composition may become a secondary focal point or, in some layouts, the main interior axis. Coordinate it with circulation and the full ceiling view; use the pendant guide for detailed sizing and spacing instead of applying a universal interval.
Zone 7: Private Dining
Private dining should remain part of the restaurant brand while feeling more intimate or distinct. A larger pendant, chandelier, stronger wall-light composition or a different material within the same palette can signal a special experience. Change scale or emphasis without introducing an unrelated design language.
Zone 8: Decide Where the Statement Fixture Belongs
Candidate locations include the entrance, central dining area, staircase, double-height space, private room, bar end or feature seating zone. Compare viewing distance, ceiling height, furniture scale, visual weight, lowest point, material, maintenance access, packing and installation. Select the location that supports the guest journey rather than assigning a statement light to every zone.
Zone 9: Circulation Lighting
Corridors and routes should connect the major spaces without adding excessive visual noise or obstructing movement. Subtle wall lights, repeated small fixtures or a consistent finish can carry the material language between zones. Architectural and emergency lighting remain separate coordination responsibilities.
Zone 10: Feature Walls and Art Areas
When a restaurant contains an artwork, logo wall, wine display, plant feature or strong material wall, decide whether the feature or the decorative light is the focal point. Placing a sculptural pendant in front of an already dominant installation can create two competing messages. One element can lead while the other supports.
Illustrative zoning diagram — not a real restaurant project.
Check the Complete Entrance Sightline
Stand at the approach and doorway in the rendering or mock-up. Multiple visible lamps may create cumulative glare even when each fixture appears comfortable alone. Compare source visibility, relative brightness and visual weight across bar pendants, table pendants, wall lights and the feature chandelier. Check competing focal points as a complete composition.
Limit the Decorative Lighting Material Palette
Ceramic, silk, leather, fabric, stone and metal can all suit restaurant interiors, but using every material at equal strength can make the space feel like a showroom. A practical framework is to define a primary material, a secondary material and a supporting finish. This is a design tool, not a rule limiting a project to two materials.
| Palette direction | Primary material | Secondary material | Supporting finish |
|---|---|---|---|
| Organic restaurant — illustrative | Ceramic | Silk or fiber | Dark metal |
| Warm boutique restaurant — illustrative | Leather | Fabric | Antique metal finish |
Use Product Families to Create Continuity
Different zones do not need the identical light. They can share a material, color, curve, texture, canopy finish or metal detail. A bar might use a small ceramic pendant, the private room a larger ceramic chandelier and a banquette a related ceramic sconce. The fixtures vary in role and scale while belonging to one visual family.
Avoid choosing the “best-looking” item from a different catalogue style for every zone. Review the whole project composition. Coordinate fixture color with walls, ceilings, timber, stone, upholstery, tables and flooring; a warm beige shade can read differently against pale plaster, dark timber or colored upholstery.
Review Every Key Fixture Off and On
When switched off, assess shape, material, color and hierarchy. When switched on, review glow, hotspots, source visibility, shadow, reflection and glare. Restaurants are often experienced in evening conditions, so a product photograph taken in daylight cannot establish the final effect.
If the project uses lunch, dinner, late-evening and cleaning scenes, identify which decorative fixtures participate in each scene. Where dimming is required, confirm the light source, driver, dimming method and control compatibility before ordering. Do not assume every fixture is dimmable. Likewise, color temperature and CRI should follow the approved project specification rather than a universal restaurant value.
Choose Materials by Exposure and Operation
| Zone | Material priority | Operational check |
|---|---|---|
| Main dining | Atmosphere, light effect and relation to furniture | Routine cleaning and repeated visual consistency |
| Bar | Rhythm, tactile character and surface durability | Beverage splash, guest contact and cleaning access |
| Entrance | Statement value and brand transition | Maintenance access and any exterior-boundary exposure |
| Private dining | Stronger material character within the shared palette | Glare, dimming and table-layout coordination |
| Banquette / circulation | Quiet continuity | Wall projection, contact risk and access |
Any semi-outdoor, humid or otherwise special environment needs separate confirmation of the product’s suitability and rating. Do not extend a decorative fixture into a kitchen or back-of-house zone simply because the visual style matches; those areas need their own technical and maintenance review.
Example Restaurant Fixture Roles
| Role | Product type | Example use | OBBAO example |
|---|---|---|---|
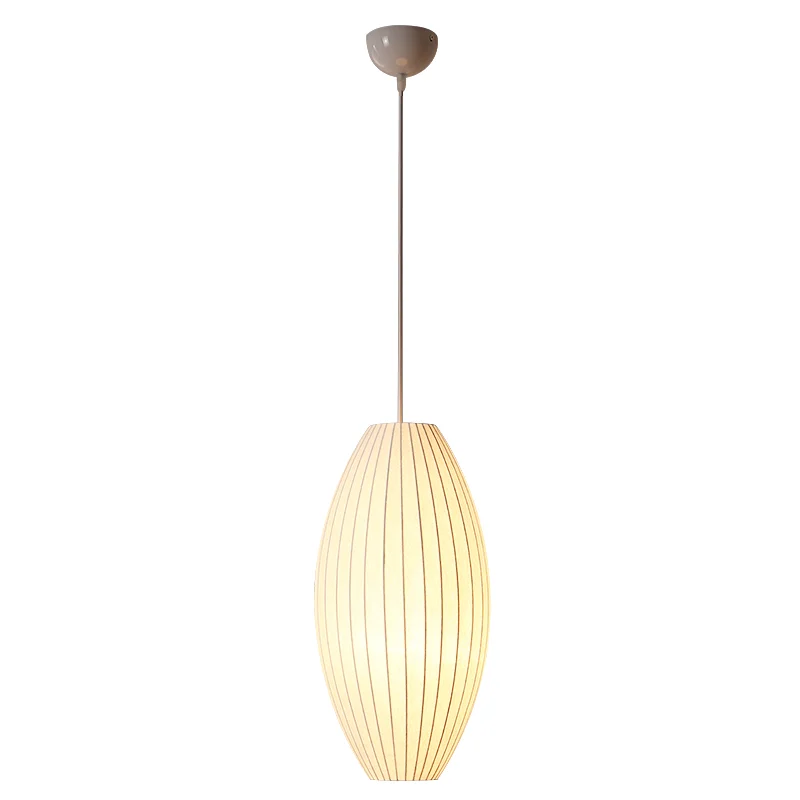
| Hero | Large pendant / chandelier | Private room or main feature | OBS019 silk suspension light |
| Rhythm | Repeated small pendants | Bar | OBBPG003 leather pendant |
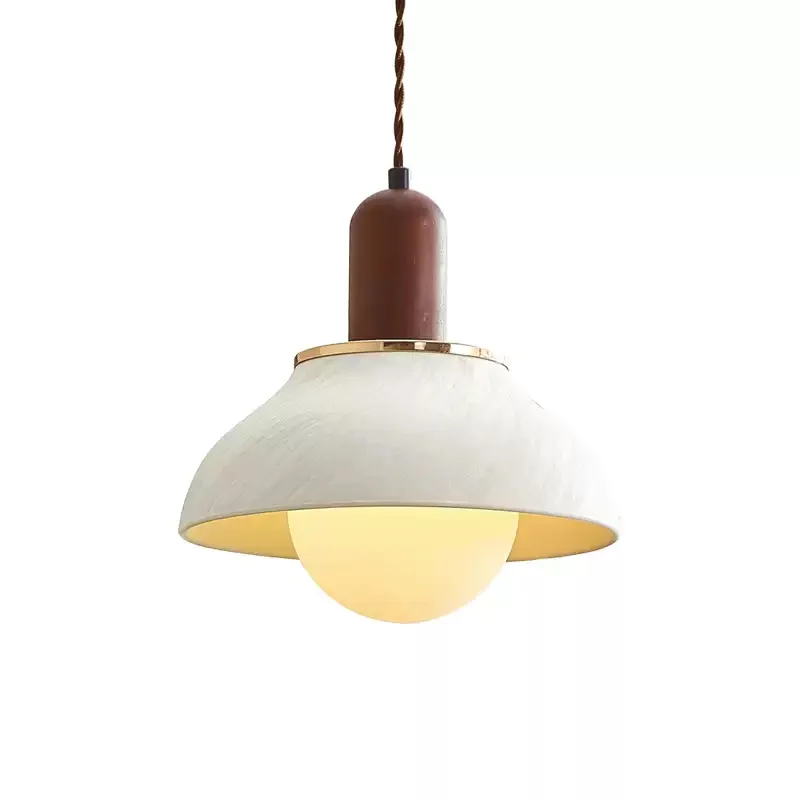
| Table | Pendant | Main dining tables | OBTC015 ceramic pendant |
| Support | Wall light | Banquette / circulation | OBTC040 ceramic wall sconce |
| Accent | Small decorative fixture | Reception | Choose after confirming the zone hierarchy |
These are role examples, not a recommendation ranking or evidence of completed OBBAO restaurant projects. Product suitability, dimensions, electrical configuration and finish must be checked against the real project.
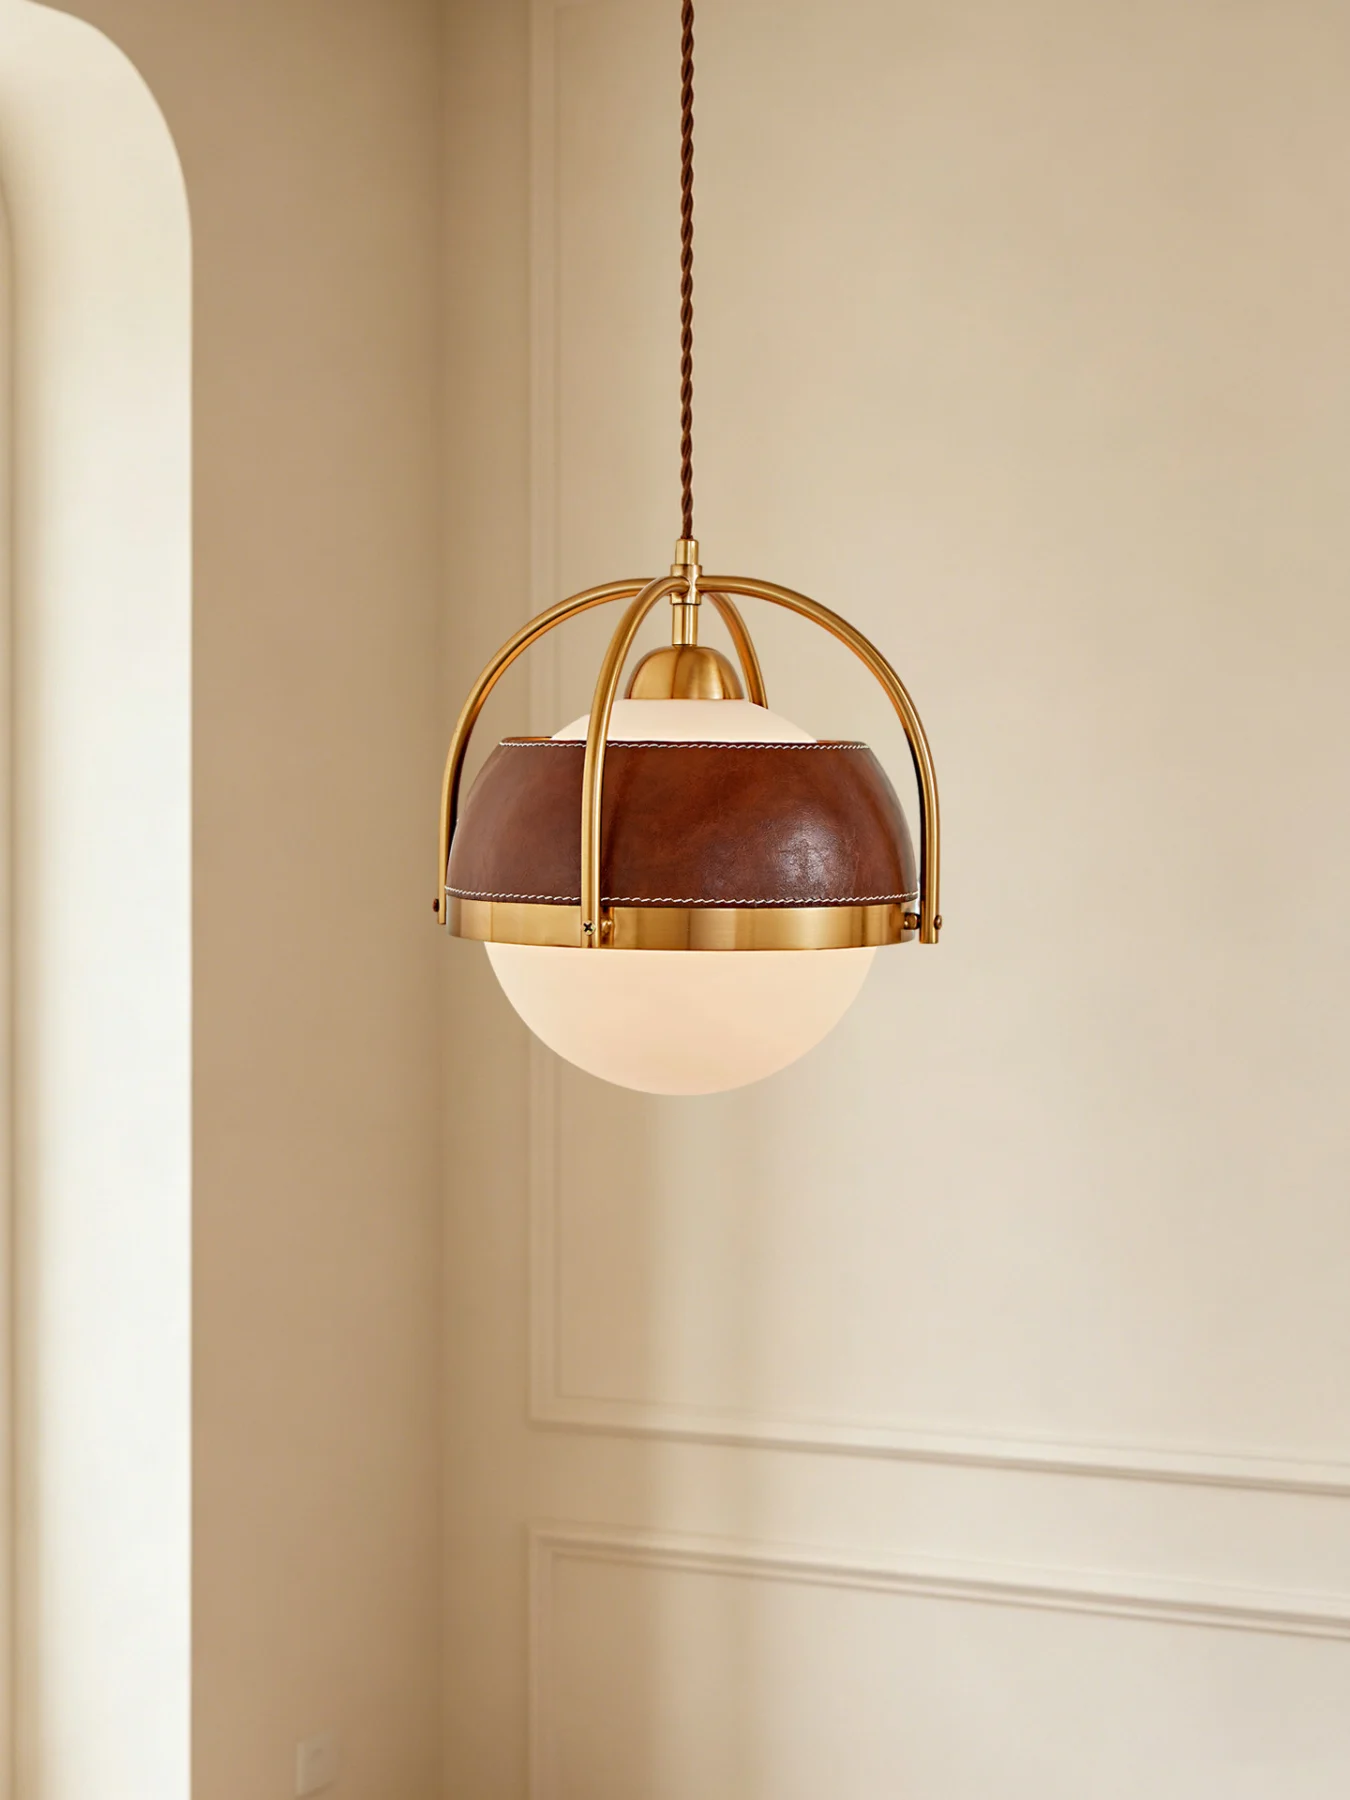
Consider for repeated bar rhythm where its size, cleaning approach and sightline have been reviewed.
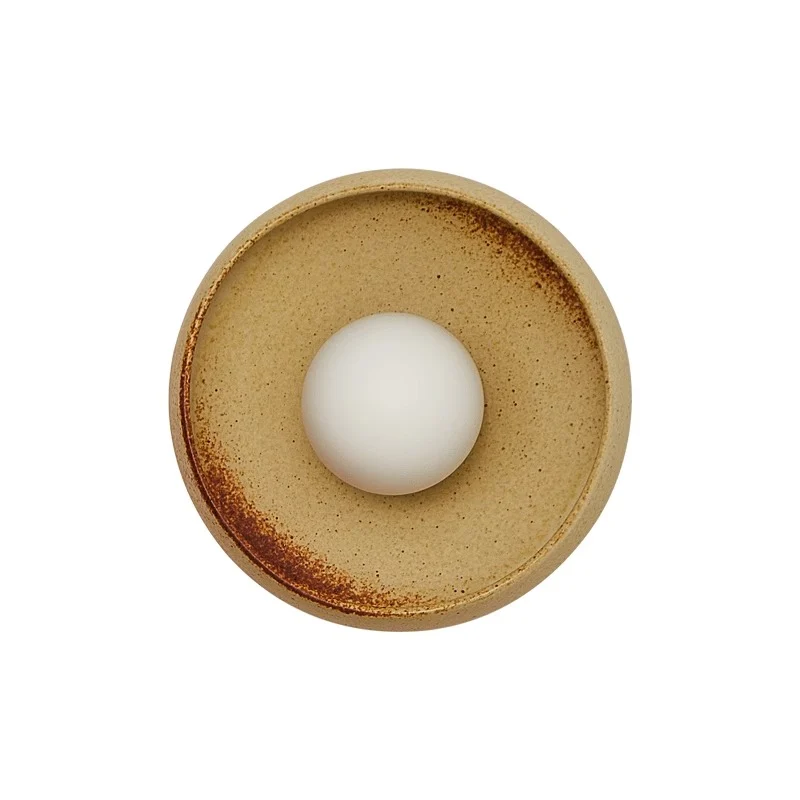
Consider as a supporting layer for a banquette or circulation area after checking projection and guest position.
From Design Direction to Sample and BOQ
A sample is most valuable when it answers a defined risk. Prioritize fixtures with unusual scale, important glaze or textile character, repeated quantities, visible sources, custom finishes or difficult packing. Review the sample against the intended background and in both off and on conditions. Record approved dimensions, material, color, electrical configuration, canopy and cable details.
After fixture roles are clear, move them into a lighting BOQ. The BOQ controls fixture codes, quantities and status; it should not decide the design hierarchy. For project-specific options, review custom pendant light options. Repeated families also benefit from a documented decorative lighting quality control checklist, while large or fragile fixtures need an agreed international packing plan and appropriate replacement-parts strategy.
Send the floor plan, furniture layout, renderings and key fixture references so entrance, bar, dining and private-room lighting can be reviewed as one coordinated project rather than as separate product selections.
Restaurant Decorative Lighting Planning Worksheet
Restaurant Concept: ____________________
Main Customer Experience: ____________________
Entrance Role: ____________________
Bar Role: ____________________
Main Dining Role: ____________________
Private Dining Role: ____________________
Hero Fixture Location: ____________________
Primary Material: ____________________
Secondary Material: ____________________
Supporting Finish: ____________________
Repeated Fixture: ____________________
Sample Priority: ____________________
Maintenance Concern: ____________________
Replacement Requirement: ____________________
Zone Planning Table
| Zone | Lighting role | Fixture type | Material | Size status | Sample? | Notes |
|---|---|---|---|---|---|---|
Example: Boutique Restaurant With Five Lighting Zones
Illustrative example — not an OBBAO customer project. Imagine a boutique restaurant with an entrance, bar, main dining area, banquette and private dining room. The entrance uses a quiet transition light so the interior remains visible. The bar uses repeated leather or ceramic pendants to create rhythm. Main dining uses softer repeated pendants aligned with the stable table groups. Wall lights give the banquette local atmosphere. A larger pendant marks the private room.
The zones do not use identical fixtures. They share restrained curves, warm neutral finishes and one metal detail, so their roles differ while the design language remains connected.
Example: Why Five Statement Fixtures Can Weaken the Design
Illustrative example. An oversized entrance chandelier, oversized bar cluster, large silk feature over dining, stone chandelier in the private room and sculptural illuminated feature wall all compete within one sightline. Each has visual strength, but the restaurant has no hierarchy.
A clearer revision might retain one hero fixture, use two or three related secondary families and allow supporting lights to recede. The exact balance depends on the floor plan; the principle is to assign attention deliberately.
Common Restaurant Lighting Design Mistakes
- Choosing fixtures before zoning: products are selected without a role in the overall plan.
- Making every area a focal point: visual competition replaces hierarchy.
- Using unrelated materials in every zone: variety becomes catalogue mixing.
- Ignoring movable tables: fixed pendants no longer align when furniture changes.
- Perfecting one table but ignoring the ceiling: repeated layouts create awkward rows or sightlines.
- Reviewing fixtures only when off: glow, source visibility and reflection remain unknown.
- Ignoring cumulative glare: many comfortable single fixtures become uncomfortable together.
- Using decorative lights as the only layer: menus, circulation and service tasks lose support.
- Choosing delicate materials without an operations review: cleaning and contact are discovered too late.
- Forgetting maintenance access: cleaning or replacing a source becomes disruptive.
- Fixing ceiling points before furniture is stable: services and tables become misaligned.
- Sending only screenshots to a supplier: scale, location, quantity and electrical context are missing.
- Forgetting replacement planning: repeated fixtures cannot be maintained consistently.
- Creating the BOQ before roles are clear: documentation locks in unresolved design decisions.
What to Send Before Requesting Restaurant Lighting Proposals
- Floor plan and furniture plan
- Reflected ceiling plan, if available
- Restaurant renderings and zone list
- Table dimensions and ceiling heights
- Lighting concept or mood board
- Material palette and reference fixtures
- Approximate quantities
- Electrical market and target schedule
At an early stage, start with the floor plan, rendering, table layout, ceiling height and reference images. For a restaurant within a hotel development, connect this zone plan to the wider hospitality lighting project planning process.
Plan the Restaurant Before Choosing Every Fixture
A restaurant lighting plan should create hierarchy across the complete guest experience—from arrival to bar, dining, circulation and private spaces. Define each zone’s role, select a limited material palette, build related fixture families, review the combined sightlines and light effect, then sample the highest-risk pieces before completing the BOQ.
Send OBBAO the floor plan, restaurant rendering, table layout, ceiling heights, target materials, reference fixtures, approximate quantities and destination market to review suitable decorative lighting directions, existing models and sample requirements for each zone.
Frequently Asked Questions
How should restaurant lighting be planned?
Start with the floor plan and divide the restaurant into functional and visual zones such as entrance, bar, main dining, booths and private dining. Define the lighting role and hierarchy of each zone before choosing specific decorative fixtures.
Should all restaurant areas use the same pendant lights?
Not necessarily. Different areas can use different fixtures while sharing materials, colors, shapes or finishes so the restaurant still feels visually connected.
Where should a restaurant use a statement light?
A statement fixture should support an important focal point such as an entrance, central dining zone or private room. The correct location depends on the layout, guest journey and visual hierarchy.
What lighting works well over restaurant dining tables?
Pendant lights, linear fixtures and grouped decorative fixtures can all work depending on table dimensions, ceiling conditions and the desired effect. Use the restaurant pendant guide for detailed sizing, hanging height and spacing considerations.
Should restaurant decorative lighting be dimmable?
Dimming may be useful where the restaurant uses different lighting scenes, but compatibility depends on the light source, driver and control system. Confirm the project requirement before ordering.
What information should I send a decorative lighting supplier?
Send the floor plan, furniture layout, ceiling heights, renderings, zone requirements, reference images, target materials, approximate quantities, electrical market and project schedule.