
A retail store can have visually impressive lighting and still make the merchandise harder to notice. An oversized pendant may photograph well but compete with the hero display. A row of decorative fixtures can create rhythm while interrupting sightlines. A wall sconce may reinforce the material palette, while the wrong fixture can make a fashion, furniture or lifestyle store feel like a lighting showroom.
Retail store lighting design therefore needs a clear hierarchy. The merchandise remains the reason for the space; decorative lighting supports the brand, atmosphere and customer journey. Start with the store concept and merchandise plan, divide the floor into zones, decide where visual emphasis belongs, and only then assign fixture roles.
Start With the Merchandise, Not the Lighting Catalogue
Do not begin by choosing ten attractive fixtures and then searching for places to install them. Begin with what customers should notice, where they move, which displays change, and where they stop. The order of decisions should be:
This sequence keeps boutique store lighting connected to the commercial interior rather than turning it into a collection of unrelated products.
Decorative Lighting Is One Layer of Retail Lighting
OBBAO’s scope in this guide is the decorative layer: pendants, chandeliers, wall sconces, floor lamps and sculptural fixtures. A complete retail interior lighting system may also require track lighting, recessed lighting, linear lighting, shelf lighting, display lighting, task lighting, controls, and emergency or egress lighting.
Professional boundary: Technical, code-required and product-display lighting should be coordinated by the responsible lighting designer, electrical consultant or project professional. This guide does not prescribe technical performance, emergency-lighting rules or electrical standards.
Retail Decorative Lighting Zone Map
| Zone | Decorative Lighting Role | Main Design Question |
|---|---|---|
| Storefront / Window | Brand attraction / visual frame | Should the light or merchandise lead the view? |
| Entrance | Transition / first interior impression | What should customers notice first? |
| Hero Display | Support focal merchandise | Does lighting strengthen or compete with the display? |
| Main Product Floor | Visual continuity | How much decorative lighting is really needed? |
| Feature Wall | Material / brand accent | Wall light or product spotlight? |
| Consultation Area | Comfort / hospitality | Should this feel more residential? |
| Checkout | Orientation / identity | Does the fixture identify the counter without clutter? |
| Lounge / Waiting | Atmosphere | Can decorative lighting create a softer sub-zone? |
| Circulation | Continuity | How can lighting guide without creating another focal point? |
Illustrative planning framework—not a mandatory retail lighting standard.
Not Every Retail Zone Needs a Statement Fixture
A retail lighting hierarchy can have three levels. A hero decorative fixture may define an entrance, central display, consultation area, staircase or double-height space. Secondary fixtures—smaller pendants, wall lights and floor lamps—reinforce important sub-zones. Background decorative fixtures repeat a finish, material or silhouette without asking for attention.
One deliberate visual focus
Supports selected zones
Creates quiet continuity
If every fixture is a visual hero, the store loses hierarchy. This is not a rule that every store may use only one statement light. It is a prompt to rank fixtures according to the merchandise and brand concept.
Decide Whether the Product or the Light Is the Hero
Before specifying a decorative fixture over a designer chair, jewelry case, fashion display, art object or furniture collection, ask: What should the customer remember first—the product, the interior, or the lighting installation?
Merchandise hero → decorative lighting support → architectural lighting layer. The fixture frames the product without obscuring its color, form or viewing angle.
Lighting hero → merchandise and interior support. This may suit a brand installation, staircase or lighting showroom, but it should be a conscious exception.
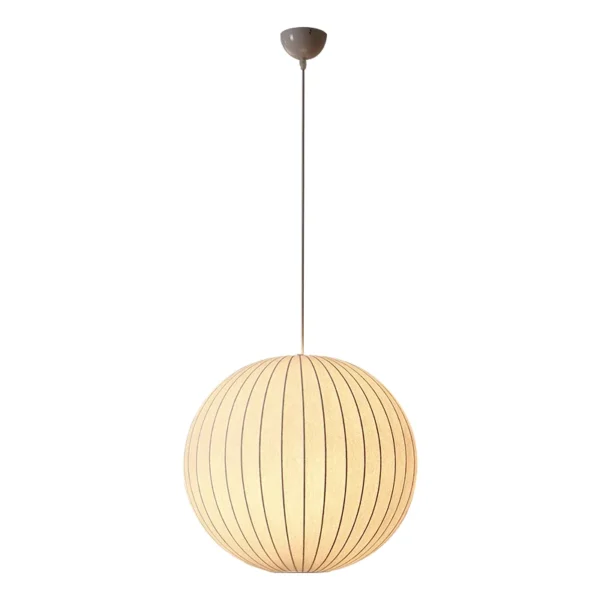
Plan Decorative Lighting by Retail Zone
Zone 1: Storefront and Window Display
Review the window from the street, not only in an interior rendering. Signage, merchandise, reflections, fixture silhouette, viewing distance and the deeper interior focal point can all appear in one frame. A pendant may help frame the window, but it should not hide the primary product.
Window displays change. A permanently fixed oversized pendant that suits today’s mannequin or furniture composition may block next month’s campaign. Check both daytime OFF appearance and evening ON appearance, including glass reflections and visible hotspots.
Zone 2: Entrance Lighting
The entrance can create transition, orientation and a first impression without becoming the largest lighting moment. Sometimes the strongest focal fixture should be reserved for the interior. Review the door, circulation path, tall displays, ceiling, sightline and the lowest point of any hanging fixture. For a double-height entrance, the high-ceiling chandelier guide provides a separate scale discussion without turning this article into a technical sizing standard.
Zone 3: Hero Product Display
A new collection, signature chair, central table or featured clothing display can use decorative lighting to identify its position. The fixture should not distort product color, limit viewing angles or become visually louder than small merchandise. Furniture and interior-product showrooms may intentionally compose the light and merchandise together; jewelry and accessory boutiques usually need a quieter relationship.
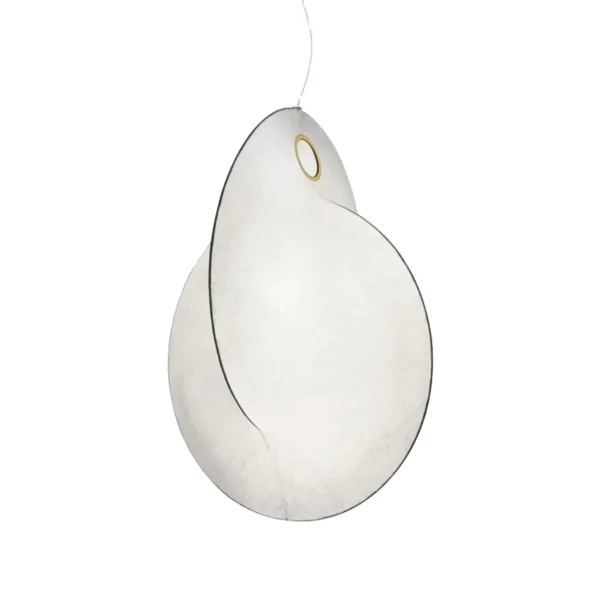
Zone 4: Main Retail Floor
The main floor often benefits from visual calm. It does not automatically need a pendant above every rack or display table. Retail layouts change with seasonal campaigns, product families and furniture positions. A fixed decorative grid can reduce future flexibility, so ask how permanent the merchandise layout really is.
Zone 5: Feature Walls and Product Walls
A wall light can reinforce a material wall, brand story or consultation backdrop. It should not cover merchandise or create unwanted shadows where products need clear evaluation. This article defines where a wall fixture fits in the zone plan; the custom wall sconces guide handles procurement and specification questions.
Zone 6: Consultation or Client Meeting Area
Furniture, kitchen, lighting and interior-design showrooms often use a consultation area that feels more residential or hospitality-like than the main sales floor. A pendant, wall light, floor lamp or table light can create a distinct atmosphere, but the selection still needs to coordinate with technical task lighting and product color evaluation.
Zone 7: Lounge or Waiting Area
A lounge can use softer materials or a floor lamp to form a quieter sub-zone. The fixture should remain stable, maintainable and clear of circulation. Select the material because it supports the brand palette—not because every available material needs to appear somewhere.
Zone 8: Checkout Lighting
Decorative lighting can identify the cash desk as a visual endpoint. Check staff sightlines, the customer queue, counter tasks, POS equipment and ceiling services. Checkout is not necessarily the store’s hero: some brands want it prominent, while others deliberately keep it quiet.
Zone 9: Circulation and Transition Areas
Continuity can come from the same metal finish, ceramic tone, canopy color or related wall-light family. It does not require another focal fixture. Where a store includes a mezzanine or staircase, a vertical chandelier, cluster or wall-light rhythm may be considered; the staircase chandelier guide covers the separate fixture-development issues.
Retail Decorative Lighting Zone Plan
Background frame
Secondary transition
Hero
Background continuity
Secondary
Quiet or identifying
Illustrative zoning diagram—not a real store project.
Showrooms Need a Different Lighting Mindset
Showrooms may present furniture, kitchens, materials, interior products or lighting itself. If displays change frequently, decorative fixtures should preserve flexibility. If the showroom is built as complete room scenes, lighting can become part of each composition while furniture or finishes remain the primary merchandise.
If the Merchandise Is Lighting
In a lighting showroom, the fixture is the merchandise, so the usual hierarchy changes. Product families need clear zoning and labels; customers need to identify models and compare related items; control groups should prevent too many illuminated products from becoming visual noise; and ON/OFF views should remain available. Circuit grouping and comparison conditions belong in the project design, while electrical wiring remains outside this article’s scope.
Furniture and Interior Showrooms
Decorative fixtures can help compose living, dining or bedroom scenes, but furniture, materials or kitchen systems may still be the merchandise customers are evaluating.
Fashion and Lifestyle Boutiques
Decorative lighting can carry brand identity but should not block racks, narrow circulation or make fabrics and finishes harder to judge. The project team should coordinate color quality and CCT with the complete system; this guide does not prescribe fixed values.
Use a Material Palette Across the Store
A retail project can quickly become a supplier catalogue if every zone introduces a different material. A more coherent framework is a primary material, a secondary material and a supporting finish. These are not mandatory quantities; they are a way to test whether each selection belongs to the same brand story.
| Material | Visual Character | Retail Consideration |
|---|---|---|
| Ceramic | Sculptural / tactile | Glaze variation, packing and repeated finish |
| Silk / Fiber | Soft sculptural volume | Scale, light transmission and cleaning |
| Fabric | Soft textile presence | Dust, diffusion and frame consistency |
| Leather | Strong material identity | Surface, maintenance and batch reference |
| Stone | Architectural / dense | Weight, support and natural variation |
| Metal | Defined shape / finish | Finish consistency, glare and scratches |
General design considerations only. An organic boutique might consider ceramic, fiber and stone; a warm crafted store might use leather, ceramic and dark metal; a residential-style showroom might use fabric, silk and wood or metal accents. These are illustrations, not industry rules.
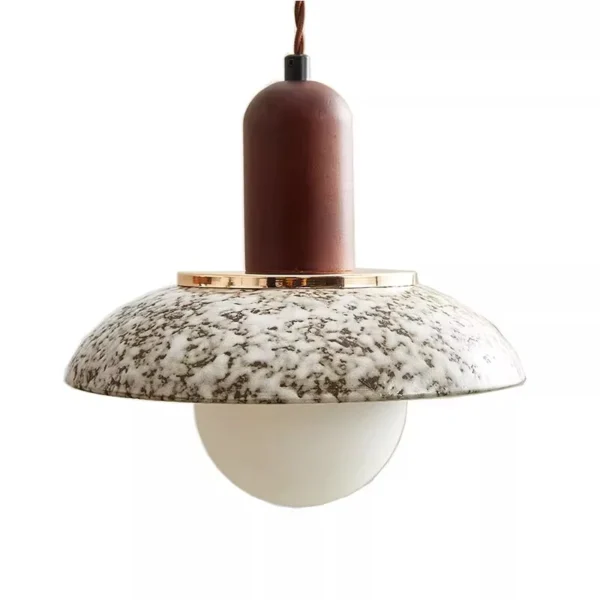
Review Fixtures ON, OFF and Within the Whole Ceiling
Retail decorative lighting is seen in daylight when switched off and after dark when illuminated. OFF, review silhouette, material, finish and the relationship to merchandise. ON, review glow, visible lamps, hotspots, reflections, shadow and glare. A glass storefront may reflect an illuminated fixture more strongly than the product behind it.
Also review the reflected ceiling plan. Track lights, sprinklers, air-conditioning, speakers, pendants and canopies share the same field of view. A supplier can use the RCP to understand position, quantity, drop and service context, but the project team remains responsible for final ceiling and MEP coordination.
Use Fixture Families to Build Brand Continuity
Continuity does not require one model everywhere. Related silhouettes, the same ceramic or metal finish, a repeated material family, or a consistent canopy finish can connect the entrance, consultation area, feature wall and lounge. Avoid random product selection unless a clear concept explains the contrast.
Brand colors also behave differently on ceramic, fabric and metal. Do not assume a logo HEX value will produce identical physical finishes. For repeated stores, use approved samples and batch references; the finish consistency guide explains that production boundary. Use custom pendant light options when reviewing size, color, cable or canopy changes.
Design for the Next Collection, Not Only Today’s Display
Window campaigns, racks, display tables and product colors will change. Permanent decorative fixtures should adapt unless they are intentionally part of the brand architecture. Review fixture scale by zone, not by store size alone: the hero zone may carry greater visual weight, the consultation area may be intimate, and the checkout must remain operational.
Daily use matters. Consider dust, fingerprints, accidental contact, cleaning and replacement access. Request product-specific care guidance rather than assuming one cleaner suits every material.
Multi-Store Programs Need Repeatability
Multi-store retail lighting needs controlled codes, finish references. Keep the project code—RL-01, for example—separate from the supplier model, and use the decorative lighting QC checklist for repeated fixtures.
Once roles are approved, turn the design into a fixture schedule with code, zone, supplier model, size, material, finish, drop, quantity and sample status. The lighting BOQ guide covers document structure; this article covers what the retail space needs and where. Record approved revisions and use the replacement-parts planning guide for future openings or refurbishments.
Which Retail Fixtures Should Be Sampled First?
Prioritize the hero fixture, a repeated fixture, a custom finish or size, a light positioned close to merchandise, an uncertain ON appearance, or a model planned across several stores. Not every fixture must be sampled. A mockup of one critical zone—hero display, consultation table or checkout—can test the relationship among merchandise, fixture and sightline.
Example Decorative Fixture Roles in Retail
| Fixture Role | Possible Fixture Type | Example Zone |
|---|---|---|
| Hero | Large pendant / chandelier | Entrance / central display |
| Brand Accent | Wall sconce | Feature wall |
| Rhythm | Small repeated pendant | Counter / consultation area |
| Atmosphere | Floor lamp | Lounge / waiting |
| Material Feature | Sculptural pendant | Product story zone |
Real Showroom and Collection Evidence
The Mixed Decorative Lighting Sample Order for a European Buyer is documented as a showroom-oriented sample order across several product families, including pendants and stone-effect wall lights. The case records model grouping, sample-list confirmation, quotation and PI support, packing size, volume and product-photo organization. It shows why showroom purchasing needs clear sample records; it does not claim that every fixture was installed in a completed showroom.
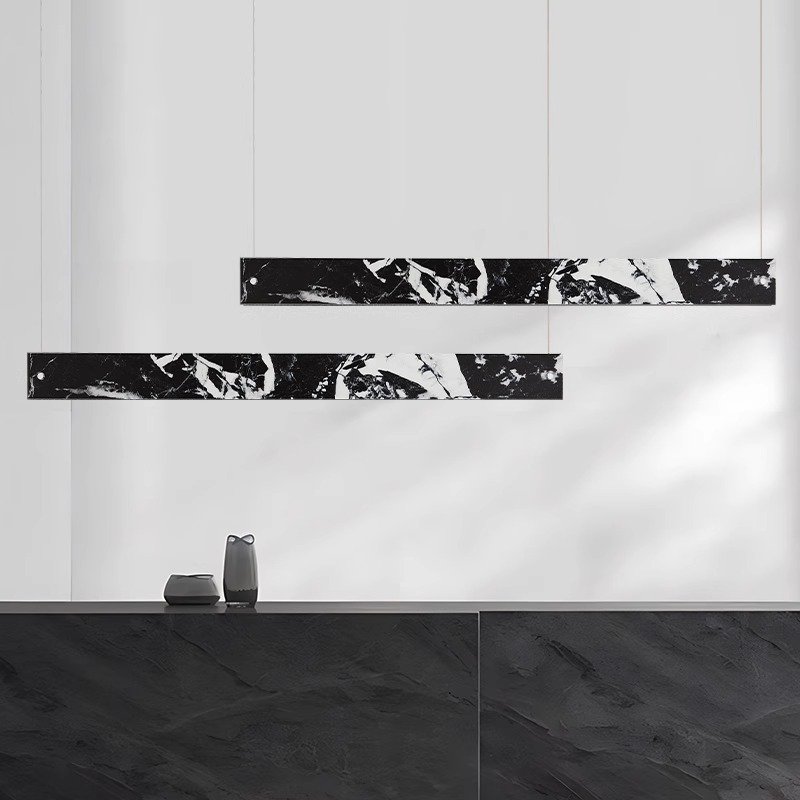
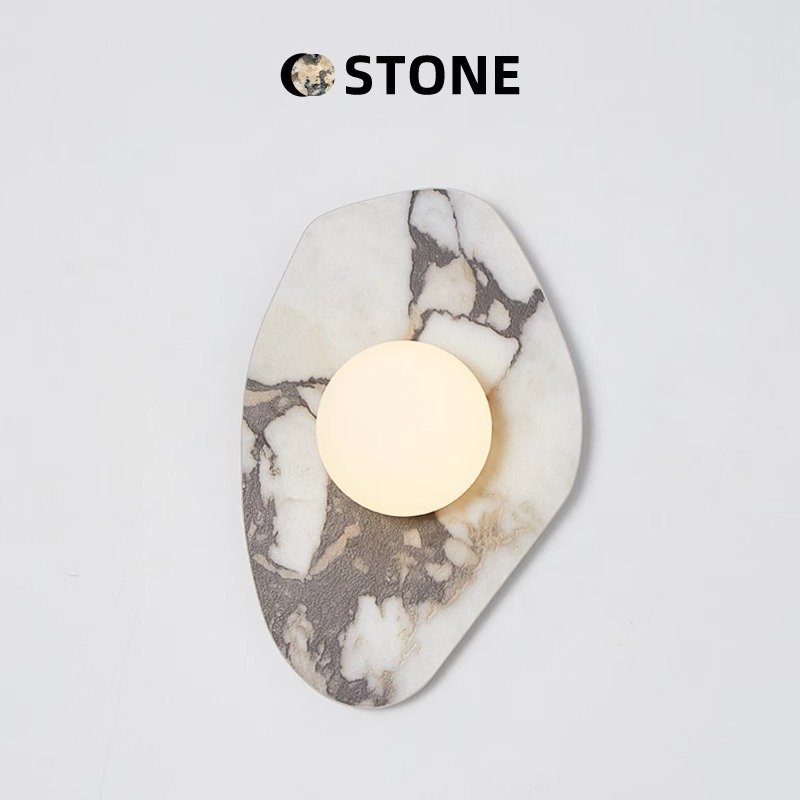
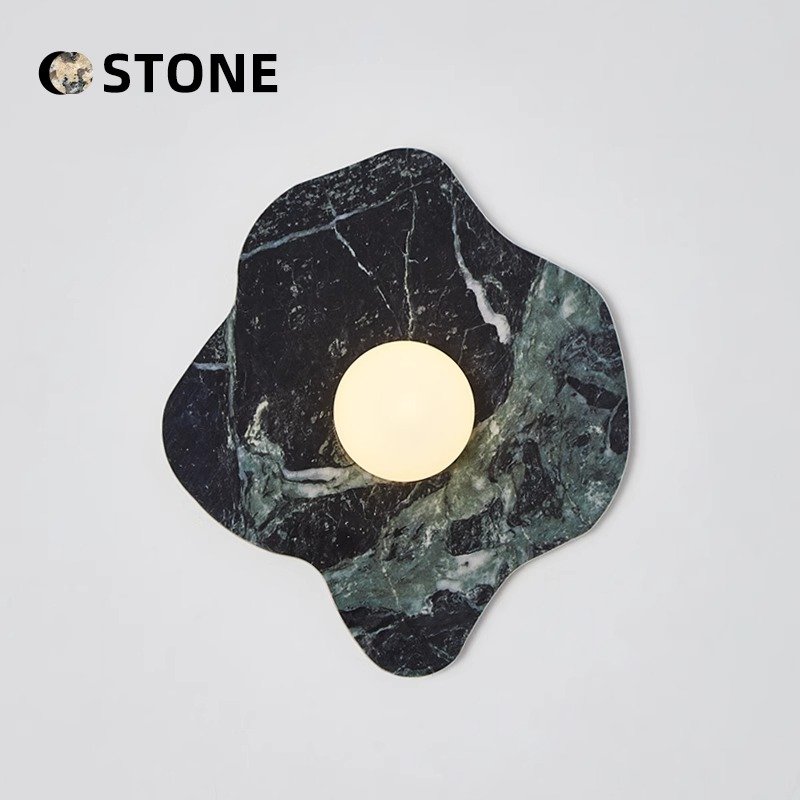
The Marble Effect Decorative Lighting Collection Development case documents model-family selection, finish and material matching, SKU photos, quotation structure and sample planning for a brand collection or showroom range. It supports the need for a consistent material direction, but it is not presented as a completed store interior.
Send the floor plan, merchandise layout, renderings and key fixture references so decorative lighting can be reviewed as part of the customer journey rather than as isolated product selections.
Retail Lighting Planning Workflow
Retail Decorative Lighting Planning Worksheet
Brand / Store Type:
Main Merchandise:
Customer Journey:
Storefront Role:
Entrance Role:
Hero Display:
Main Product Floor:
Consultation Area:
Checkout:
Primary Decorative Fixture:
Secondary Fixture Family:
Primary Material:
Secondary Material:
Supporting Finish:
Sample Priority:
Maintenance Concern:
Future Layout Changes:
Multi-Store Repeat Requirement:
Zone Planning Table
| Zone | Merchandise Priority | Decorative Role | Fixture Type | Material | Sample? | Notes |
|---|---|---|---|---|---|---|
| Storefront | ||||||
| Entrance | ||||||
| Hero Display | ||||||
| Main Floor | ||||||
| Consultation / Lounge | ||||||
| Checkout |
Example: Boutique Furniture and Lifestyle Store
Illustrative example—not an OBBAO customer project. Keep the furniture collection dominant in the window. Use a quiet entrance transition. Place one sculptural pendant over the central display. Use small wall lights or quiet technical lighting at the material wall. Give the consultation area a floor lamp and softer pendant. Identify checkout with a simple related fixture. The result has one main visual focus, a supporting family and calm background zones.
Why Too Many Statement Fixtures Can Hurt the Store
Imagine a large chandelier in the window, another at the entrance, an oversized silk pendant over the central display, a stone pendant in consultation and a cluster over checkout. Each fixture may be attractive alone, but together they leave the customer unsure where the merchandise begins. The correction is not a universal one-statement-light rule; it is a clear ranking of focal, supporting and background roles.
Common Retail Lighting Design Mistakes
- Selecting decorative lights before planning merchandise.
- Making every store zone a focal point.
- Allowing fixtures to block window displays.
- Reviewing only the interior view and ignoring the street sightline.
- Using unrelated fixture styles in every zone.
- Letting decorative lighting compete with hero merchandise.
- Fixing pendant positions before display layouts stabilize.
- Ignoring seasonal merchandising changes.
- Reviewing fixtures only when switched off.
- Forgetting the complete ceiling view.
- Treating decorative lighting as the whole retail lighting system.
- Choosing delicate materials without considering daily cleaning.
- Ignoring replacement planning for multi-store programs.
- Sending product screenshots to a supplier without a floor plan.
- Building a BOQ before fixture roles are clear.
What to Send Before Requesting Retail Decorative Lighting Proposals
- Store floor plan and merchandise layout
- Reflected ceiling plan, if available
- Renderings and storefront or window elevation
- Ceiling heights and key sightlines
- Material palette and brand mood board
- Fixture references and retail zone list
- Approximate quantity and destination electrical market
- Store-opening schedule
- Whether the project is a one-off or multi-store rollout
A floor plan, rendering, store concept and references are enough to begin. Final technical coordination remains with the project professionals.
FAQ
How should decorative lighting be planned for a retail store?
Start with the merchandise layout and customer journey, divide the store into zones, define which areas need visual emphasis, and then select decorative fixtures that support rather than compete with the products.
Should every retail zone use decorative pendant lights?
No. Pendants may work in selected zones such as entrances, consultation tables or feature displays, while other areas may need quieter wall, floor or architectural lighting.
Where should a boutique store use a statement light?
A statement fixture can work at an entrance, central display, staircase or consultation area, but the location depends on whether the light or the merchandise should be the visual focal point.
What lighting works well in a showroom?
Showrooms can combine decorative pendants, wall lights and floor lamps with technical display lighting. Selection should reflect the products being shown and how frequently the display layout changes.
How do I choose decorative lighting materials for a retail interior?
Choose materials that support the store palette, brand character, maintenance needs and fixture scale. Ceramic, silk, fabric, leather, stone and metal create different visual and operational considerations.
What information should I send a decorative lighting manufacturer for a retail project?
Send the floor plan, renderings, merchandise layout, ceiling heights, material palette, fixture references, quantities and electrical market. For multi-store programs, also identify repeatability and replacement requirements.
Let the Lighting Support the Store, Not Compete With It
A retail lighting plan should connect the storefront, product displays, consultation areas and checkout while keeping merchandise visually clear. OBBAO can review decorative fixture requirements against the store plan and references, discuss existing models and customization, and help organize sample and project-supply requirements. We do not replace the project’s architectural, electrical or code consultants.
Send the store floor plan, rendering, merchandise layout, ceiling height, target materials, reference fixtures, approximate quantity and destination market.